Use the Morph resource to morph from one mesh into another through a seamless transition. Kanzi uses shaders to enable morphing. See Shaders.
Before you can morph between meshes in Kanzi you need to create the 3D models in a third-party tool and import them to Kanzi Studio.
When you create in your third-party tool meshes between which you want to morph, first create the base mesh and then from that mesh shape the mesh to which you want to morph. When creating the meshes keep in mind:
Keep the vertices of the meshes in approximately the same place.
All meshes must have the same amount of vertices and clusters.
Do not change the topology of meshes.
Morphing meshes
To morph meshes:
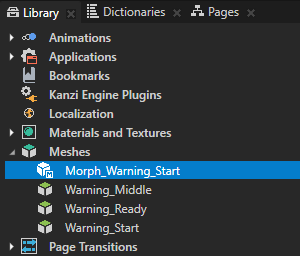
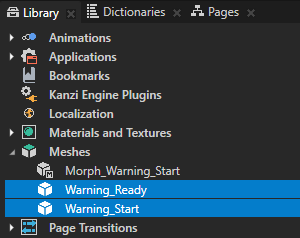
In the Assets click Import Assets and import the 3D model which contains the meshes between which you want to morph. After Kanzi Studio imports the 3D model to your project, it adds the meshes from the 3D model, and a Morph resource that uses the imported meshes. You can find these resources in the Library > Meshes. For example, import a 3D model which includes a morph called Morph_Warning_Start and meshes Warning_Start and Warning_Ready. Note If Kanzi Studio imports extra morph target shapes without polygon data, in the Library > Meshes select that Morph and in the Properties set the Morph Targets property to point to the meshes that include the polygon data.
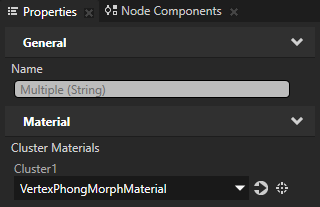
In the Library select the imported meshes between which you want to morph and in the Properties set the Cluster Material property to a material that uses a material type which supports morphing. For example, set Cluster Material to VertexPhongMorphMaterial. If your project does not contain the VertexPhongMorphMaterial material, in the Library > Materials and Textures > Material Typespress Alt and right-click, and select VertexPhongMorph. Kanzi Studio adds to the Library the VertexPhongMorph material type and the VertexPhongMorphMaterial material. Tip To add to any Phong material type support for morphing, in the Library select the material type, and in the Properties in the Preprocessor Defines property set the Value of KANZI_SHADER_USE_MORPHING to 1. See Modifying the default Phong material types.
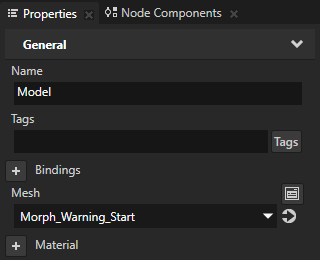
In the Projectpress Alt and right-click the node where you want to add the morph, select Model, and in the Properties set the Mesh property to the Morph resource you want to use.
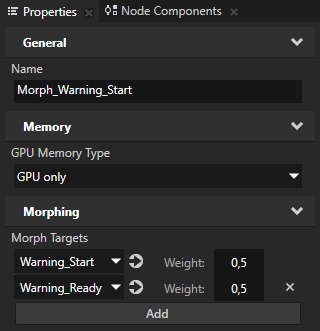
In the Library > Meshes select the Morph resource you set in the previous step, and in the Properties in the Morph Targets property adjust the Weight properties for each of the meshes in the Morph resource to control the shape of the morph. The higher the value, the closer the Morph takes the shape of that mesh. Keep in mind that for the morph to show the correct shape the sum of the Weight property values for all meshes must be 1. You can change the shape of a morph using a keyframe animation. See Animating morphing.
Adding meshes to a Morph
Add meshes to your Morph to add shapes between which you want to morph. For the morphing to work correctly add only meshes that are shaped from the same base mesh and have the same topology and amount of vertices and clusters.
To add meshes to a Morph:
In the Library > Meshes create or select a Morph. For example, select Morph_Warning_Start.
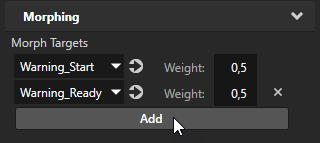
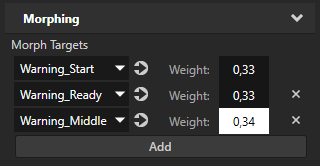
In the Properties in the Morph Targets property:
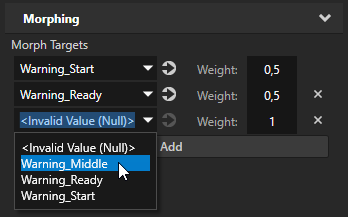
Click Add and in the dropdown menu select the mesh you want to add to the Morph.
Adjust the Weight property of the meshes. The higher the value, the closer the Morph takes the shape of that mesh. Keep in mind that for the morph to show the correct shape the sum of the Weight property values for all meshes must be 1.
Animating morphing
Use keyframe animations to change the shape of a morph.
To animate morphing:
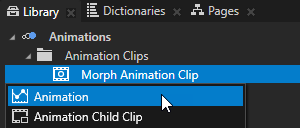
In the Library > Animationspress Alt and right-click and create an Animation Clip. For example, name it Morph Animation Clip. You use the Animation Clip to host keyframe animations for the meshes in your morph. Each animation targets a specific mesh in the morph and defines the weight of the mesh at different points in time.
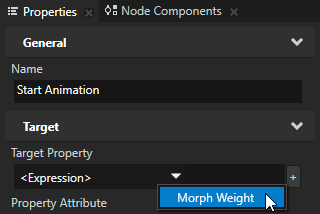
In the Library > Animations select the animation clip you created in the previous step and create a keyframe animation for the first mesh you want to morph. For example, name the animation Start Animation and in the Properties set:
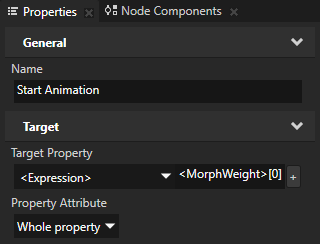
Target Property to <Expression> , click to add the Morph Weight property, and set it to <MorphWeight>[0]
Property Attribute to Whole property
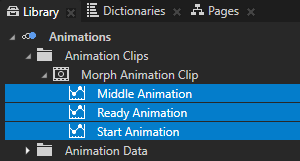
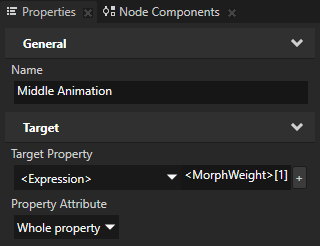
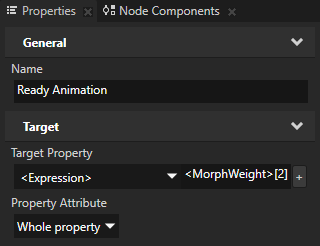
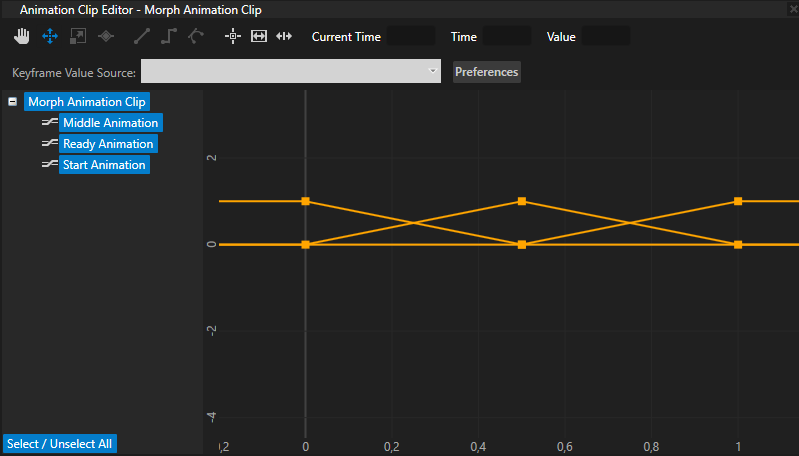
Repeat the previous step as many times as there are meshes in the Morph you want to animate, and for each animation in the <MorphWeight>[n] set the n to the mesh in the Morph the weight of which you want change with the animation. For example, to animate a morph with three meshes, create two more animations, name them Middle Animation and Ready Animation, and set:
Middle AnimationTarget Property to <Expression><MorphWeight>[1]
Ready AnimationTarget Property to <Expression><MorphWeight>[2]
You use Middle Animation to set the weight of the second mesh in your morph and Ready Animation to set the weight of the third mesh in your morph at different points in time.
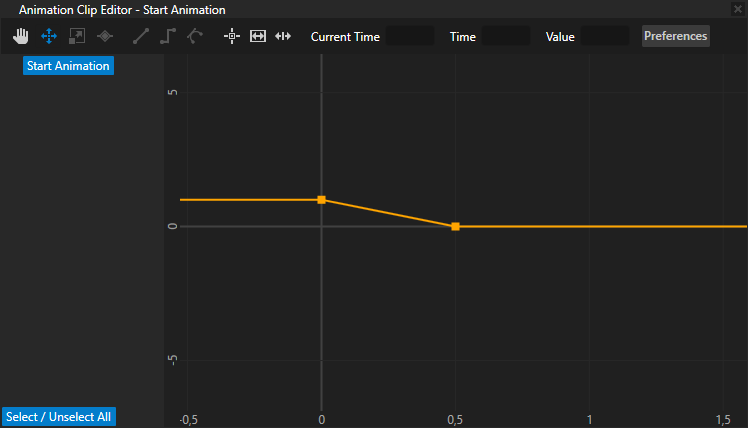
Create keyframes for the animations you created in the previous step. See Creating keyframe animations for target property attributes. You use the keyframe values to set the Weight properties of the meshes in the morph at different points in time. The higher the value, the closer the Morph takes the shape of that mesh. Keep in mind that for the morph to show the correct shape the sum of the Weight property values for all meshes must be 1. The sum of the keyframe values for all animations in the Animation Clip must be 1 at any given point in time. For example, to create a one-second linear animation of a morph with three meshes, use these keyframes:
Start Animation:
First keyframe:
Time to 0
Value to 1
Second keyframe:
Time to 0,5
Value to 0
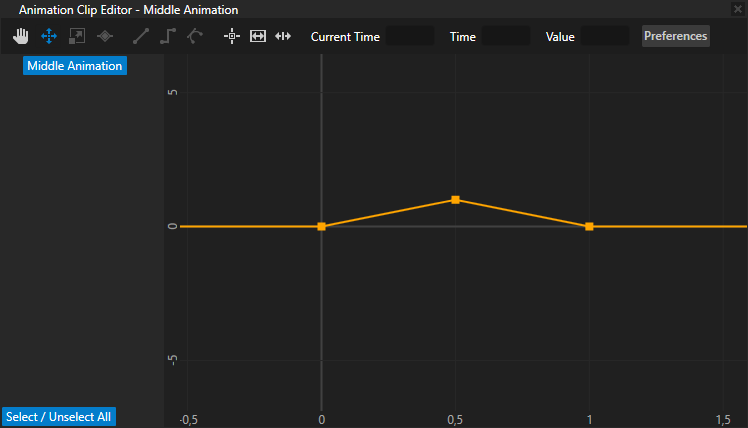
Middle Animation:
First keyframe:
Time to 0
Value to 0
Second keyframe:
Time to 0,5
Value to 1
Third keyframe:
Time to 1
Value to 0
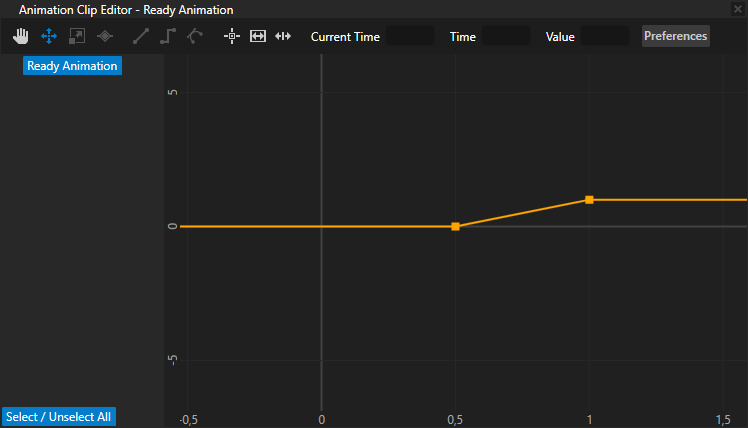
Ready Animation:
First keyframe:
Time to 0,5
Value to 0
Second keyframe:
Time to 1
Value to 1
Animate the morph with the keyframe animations you created:
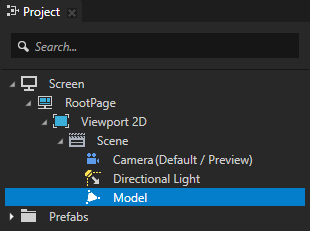
In the Project select the Model node the Mesh property of which is set to the Morph you want to animate. See Morphing meshes.
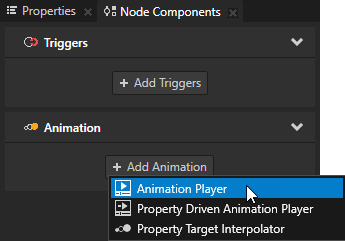
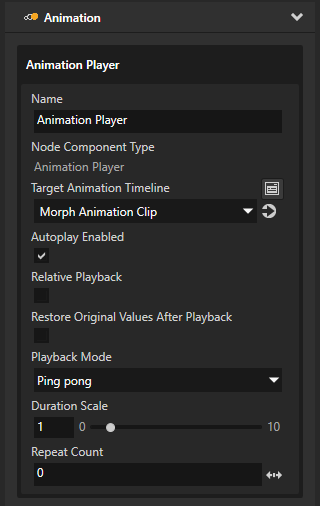
In the Node Components > Animation section click + Add Animation and select Animation Player.
In the Node Components in the Animation Player you created set the Target Animation Timeline property to the Animation Clip you created in the first step, and set the animation playback. See Playing keyframe animations. For example, set:


 to add the